 Pin this
 The unmistakable tang of fermenting peppers greeted me the first time I made this hot sauce, lingering in my kitchen for days. It became a household experiment—my curiosity piqued each time I passed the jar, watching the colors deepen and the bubbles rise. I hadn’t set out to become the person who ferments things, but that first batch crackled with so much flavor and life, it hooked me instantly. There’s something almost suspenseful about tasting hot sauce you coaxed to life yourself. Before long, a bottle of homemade heat found its place next to everything from takeout pizza to breakfast eggs.
The night before a big family taco dinner, I remember nervously checking under the jar lid, hoping I hadn’t overdone the garlic. The whole crew asked what smelled so unexpectedly delicious, not realizing what I’d been quietly nurturing on the counter all week. When I finally poured the sauce into a little bowl and set it out like it was no big deal, someone tasted it and declared it ‘dangerously good.’ That moment, with everyone reaching for the bottle, turned an ordinary dinner into a spicy memory. It’s now a sidekick for every gathering—even my heat-averse aunt can’t resist a tiny drizzle.
Ingredients
- Fresh red chili peppers: The heart of the sauce; use a mix for flavor complexity, and always wear gloves to avoid accidental chili burns later.
- Red bell pepper: Adds a flash of sweetness and softens the heat, making the sauce more versatile.
- Garlic cloves: The secret to that earthy undertone that lingers after the spice calms down.
- Shallot or onion: Either one mellows out the raw vegetal taste—just chop roughly for even fermenting.
- Carrot (optional): Brings a mellow sweetness and helps thicken the texture if you like your sauce heartier.
- Filtered water: Vital for happy fermentation—tap water with chlorine can stall those good microbes, so use filtered or let tap water sit overnight.
- Non-iodized salt: Sea or kosher is best; iodized salt can interfere with fermentation, so double-check your box.
- Apple cider or white vinegar: Perks up the finished sauce—apple cider gives tangy depth, while white keeps things bright and sharp.
Tired of Takeout? 🥡
Get 10 meals you can make faster than delivery arrives. Seriously.
One email. No spam. Unsubscribe anytime.
Instructions
- Make the brine:
- Stir the salt into filtered water until it dissolves completely; you’ll know it’s ready when the water turns clear again.
- Prep your produce:
- Chop your peppers, carrot, garlic, and onion or shallot—the pieces don’t need to be perfect, just try to keep them roughly even so they ferment at the same rate.
- Pack the jar:
- Layer all the chopped vegetables and aromatics into a clean glass jar, tapping it gently to nestle them together.
- Submerge and weigh down:
- Pour your brine over everything, making sure the vegetables are completely underwater, then settle a fermentation weight or brine-filled bag on top to hold them down.
- Seal for fermenting:
- Screw on your jar lid loosely or fit an airlock; you want trapped gases to escape without letting flies or dust in.
- Wait and monitor:
- Find a cool, shaded corner and let the jar sit for a week, lifting the weight daily to check for mold or scum and to confirm everything stays submerged.
- Blend with vinegar:
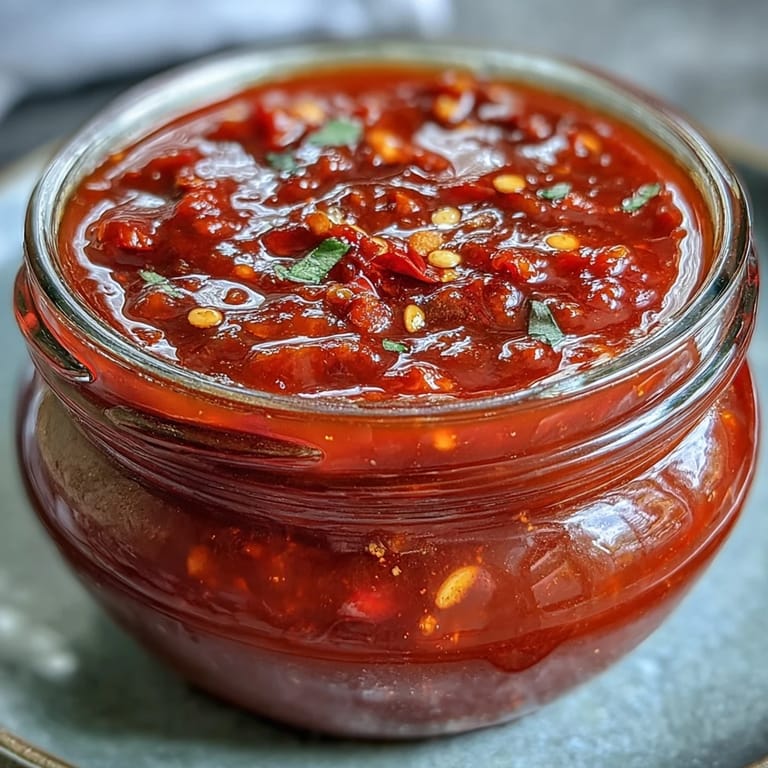
- After 7 days, pour everything (including brine) into a blender, add vinegar, and blitz until silky or leave it a bit chunky if you like some rustic character.
- Strain or not:
- If you want your sauce super smooth, press it through a sieve with a spoon, collecting all the liquid gold below; otherwise, embrace the pulpy bits for texture.
- Bottle up:
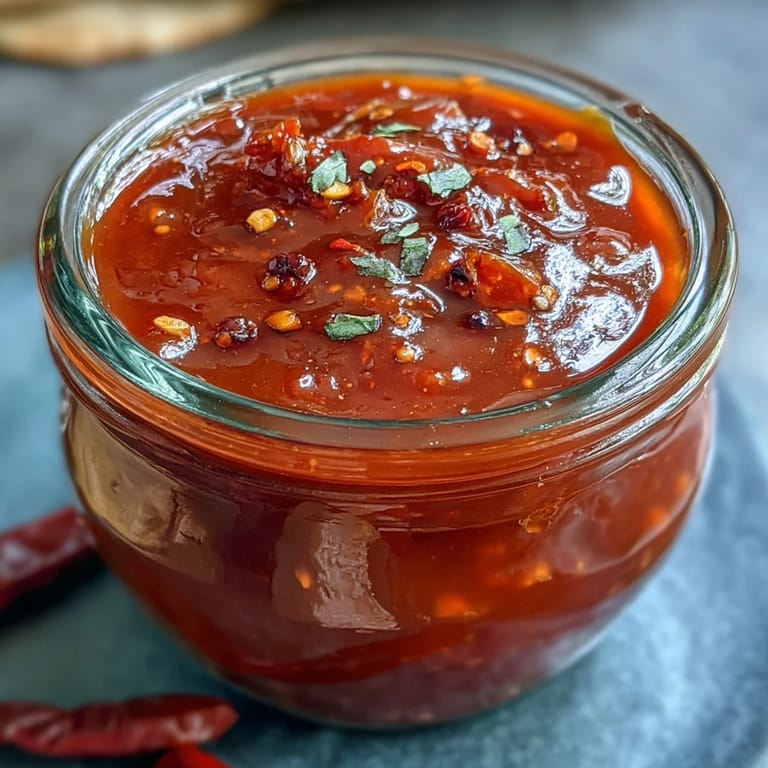
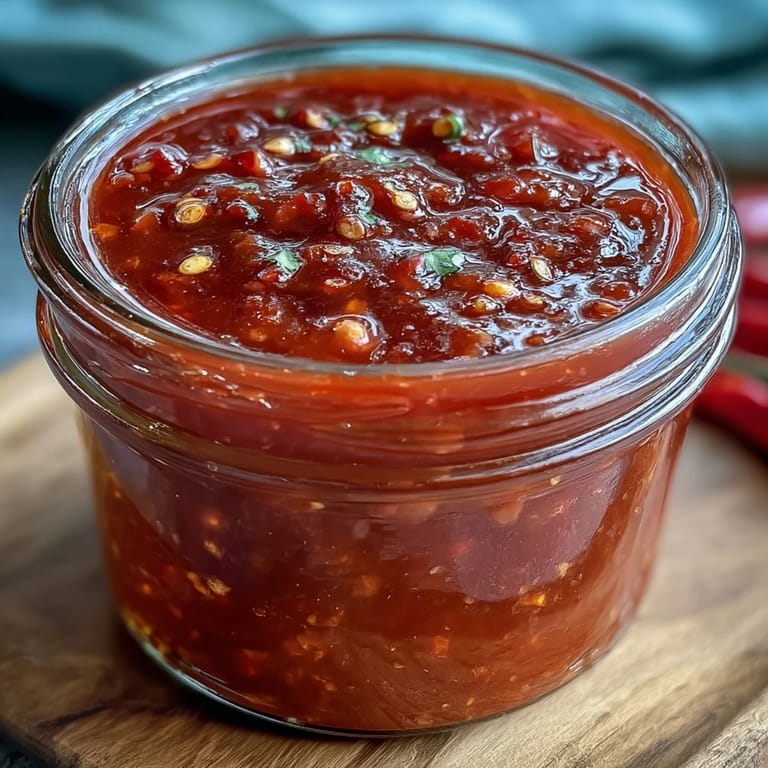
- Transfer the finished sauce into a sterilized jar or bottle and stash it in the fridge, where the flavors will keep evolving each week.
 Pin this
  Pin this
 I gifted a bottle to a friend who swore by store-bought Sriracha, and she called a week later asking how to ‘turn her own kitchen into a hot sauce lab.’ That’s when it hit me—homemade doesn’t just taste better, it’s a conversation starter and a little doorway to experimentation for everyone you share it with.
How Fermentation Changed My Cooking
Experimenting with fermentation opened up a whole new layer of flavors I never got from store-bought sauces. You start noticing subtle shifts each day: first the brine smells savory, then a few days in you catch whiffs of pickly funk and bright fruitiness. Waiting isn’t easy, but patience pays off—by the end, the peppers mellow and blend together into something truly special. Letting nature ‘cook’ with you is half the fun. Even mistakes can turn into happy accidents with a little curiosity.
Troubleshooting in the Fermenting Kitchen
If you notice odd white film on your veggies after a few days, don’t panic—it’s usually harmless yeast, not dangerous mold, and you can skim it away. The real things to watch for are fuzzy green or black spots, which mean it’s time to toss the batch and start again. Be sure your utensils and jar are squeaky clean before you start to stack the odds in your favor. Keep your ferment tucked away from sunlight; too much heat can make everything turn mushy or go off. Trust your nose—if it smells rotten, it probably is and should be discarded.
Making It Your Own: Flavor Variations and Ideas
After nailing the basic recipe, I love tossing black peppercorns or a sprinkle of coriander seeds into the brine, or spiking it with an extra-hot chili for days when I want something wild. Swapping vinegar types changes the whole character—rice vinegar brought a subtle sweetness, while sherry vinegar introduced some funk. And no one says you have to blend it super smooth; sometimes a chunky spoonful is perfect on roasted vegetables. Get creative with what’s in season and don’t sweat if it looks or tastes a little different each time.
- Taste before bottling—sometimes it needs a pinch of extra salt or vinegar.
- Label your jars with the date and peppers used to track favorite combos.
- Keep extra brine to adjust consistency or kickstart your next batch of hot sauce.
 Pin this
  Pin this
 If you’re daring enough to try this once, you’ll want a jar bubbling away every month. Let each batch surprise you—a little time and some peppers become kitchen magic.
Frequently Asked Recipe Questions
- → How long should the fermentation last?
Ferment at a cool room temperature (about 18–22°C / 65–72°F) for seven days for balanced tang and complexity. Shorter time yields milder tang, longer time increases sourness and depth.
- → Which peppers work best?
Use a mix of fresh red chilies for color and heat—Fresno, jalapeño, serrano, or a blend. Add habanero or Thai chilies to increase heat, and a red bell pepper for sweetness and body.
- → How do I keep the vegetables safely submerged?
Use a fermentation weight or a small zip‑top bag filled with brine to press the vegetables below the liquid. Keeping them submerged limits air exposure and helps lactic cultures dominate; skim any surface scum, but discard if you see fuzzy mold.
- → How can I change the texture?
For a smooth sauce blend longer and pass through a fine‑mesh sieve. For a rustic texture, blend briefly and leave some pieces intact. Add extra brine or vinegar to thin the sauce to your preferred pourability.
- → How long will the sauce keep?
Stored in a sterilized jar in the refrigerator, the sauce remains flavorful for about three months. Flavors will continue to mellow and develop over time.
- → Can I add spices to the brine?
Yes—whole black peppercorns, coriander seeds, or mustard seeds in the brine add aromatic complexity. Add them sparingly and taste after fermentation to balance the profile.