 Pin this
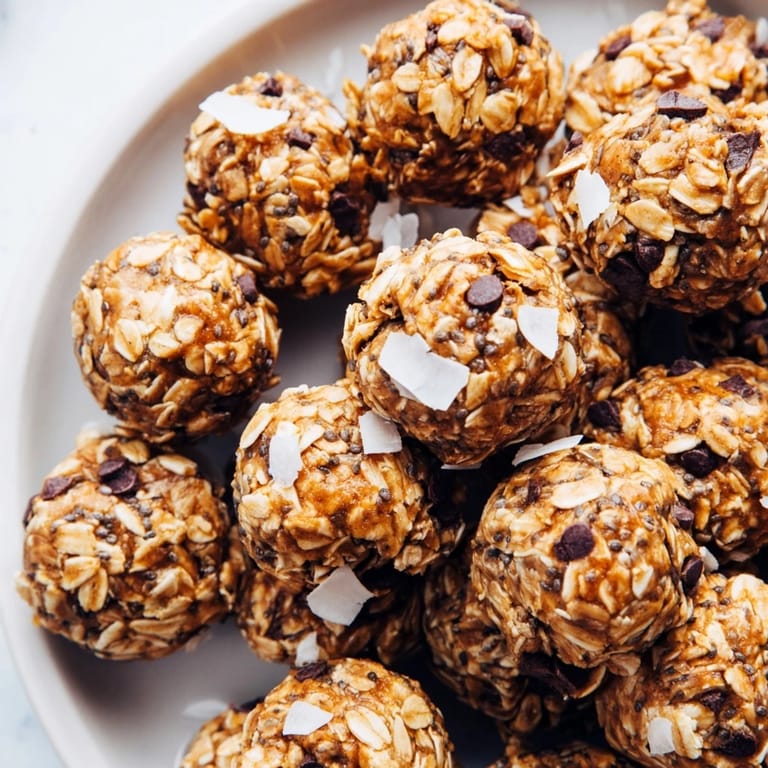
 I discovered these bites on a Tuesday morning when I was frantically packing my gym bag and realized I had nothing to grab on the way out. My friend had texted a photo of her homemade energy balls the night before, and I thought, why not try making them myself? Fifteen minutes later, with sticky fingers and a mixing bowl that had seen better days, I had a tray of little golden orbs that tasted nothing like the sad protein bars I'd been buying. Now they're the first thing I make when my pantry feels full but my snack drawer feels empty.
I made a double batch for my sister's hiking trip, and she called me three days later saying they were the only snack that didn't get crushed in her backpack. She ate them straight from a ziplock bag on a mountain overlook while the sunset turned everything pink and gold. That's when I realized these little bites had become my secret weapon for looking like a thoughtful sister without actually having to bake.
Ingredients
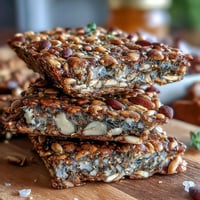
- Rolled oats: They're the backbone here—use certified gluten-free if that matters to you, and don't skip them trying to substitute with instant oats, which turn the mixture mushy.
- Chia seeds: These tiny seeds absorb moisture and add a subtle crunch that makes each bite feel more interesting than it should.
- Almond butter: The creamy binder that holds everything together; natural or regular both work, but stir it well if there's oil on top.
- Honey or maple syrup: Use maple syrup if you want them vegan, though I find honey adds a softer sweetness that feels more like a treat.
- Vanilla extract: Just a whisper, but it transforms the flavor from "healthy snack" to "something I actually want to eat."
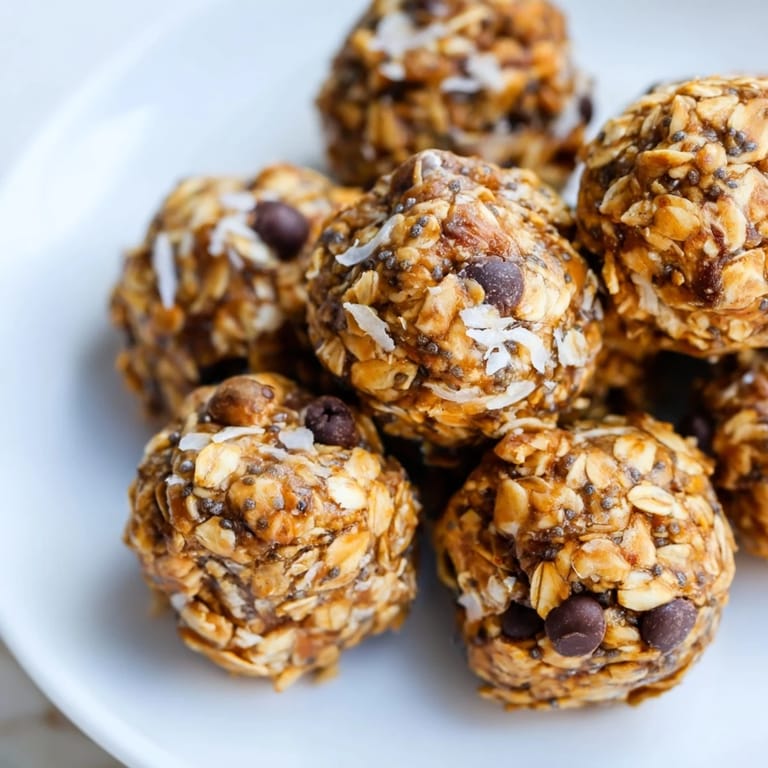
- Dark chocolate chips: Optional but honestly, why skip them—they're what make people eat more than one.
- Shredded coconut and sea salt: The coconut adds texture and tropical warmth, while the salt is the quiet genius move that makes the sweetness pop.
Tired of Takeout? 🥡
Get 10 meals you can make faster than delivery arrives. Seriously.
One email. No spam. Unsubscribe anytime.
Instructions
- Mix the dry team:
- Combine your oats, chia seeds, and coconut in a large bowl, stirring gently so everything gets introduced to each other. This takes maybe two minutes and sets you up for success.
- Bring in the wet ingredients:
- Add the almond butter, honey, and vanilla, then stir with intention until the mixture stops being dry and crumbly and starts clinging together like it has a plan. Your arm will feel it when it's ready—trust that feeling.
- Fold in the chocolate and salt:
- Gently stir in the chocolate chips and that pinch of salt, being careful not to crush the chips into oblivion. The mixture should look like wet sand that's ready to be shaped.
- Roll into balls:
- Wet your hands slightly or use a small cookie scoop, then form the mixture into 1-inch balls with gentle confidence. If the mixture is too sticky, chill it for 10 minutes first and try again.
- Chill and set:
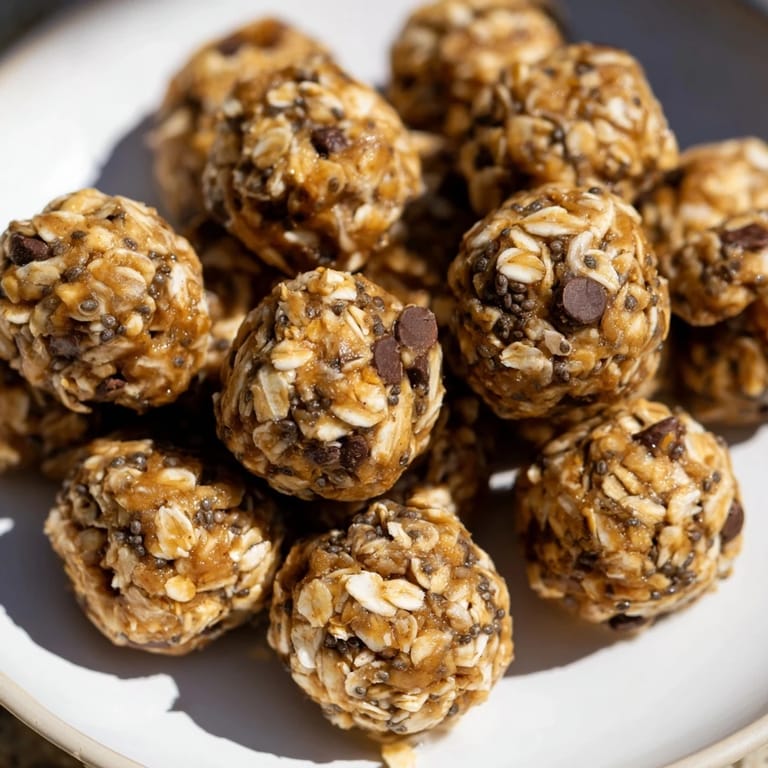
- Arrange the bites on a parchment-lined tray and slide them into the fridge for at least 30 minutes, though overnight is even better. They'll firm up into little nuggets of energy that feel indulgent but are secretly good for you.
 Pin this
 There's something about biting into one of these after a long afternoon that feels like a small act of self-care, even though you made them yourself. They're the kind of snack that bridges the gap between the indulgent and the intentional, and somehow that makes them taste even better.
Variations to Try
Once you've made these once, the formula becomes your playground. I swap out the almond butter for peanut or cashew butter depending on what I have and what mood I'm in. The honey can become maple syrup whenever I want them vegan, and adding a tablespoon of flaxseed meal makes me feel extra virtuous without changing the texture at all. Some weeks I skip the coconut entirely and lean into the chocolate instead, making them feel more like little brownie bites than health food.
Storage and Longevity
I keep mine in a glass container in the coldest part of my fridge, where they stay perfectly firm for about a week before the texture starts to shift. You can freeze them too if you're feeling ahead of the game—just pull one out 10 minutes before you want to eat it and it'll be back to its perfect state. The real test is restraint; I've never actually had them last a full week because I'm always finding excuses to grab another.
Perfect Pairings
These bites are the ultimate supporting actor to whatever else you're doing. They travel quietly in a gym bag, sit pretty in a packed lunch, and show up elegantly when you're looking for something to offer guests without actually cooking. I pair them with coffee in the morning, with fruit as an afternoon pick-me-up, and with herbal tea when I'm trying to tell myself I'm winding down for the evening.
- Pack them in your gym bag and eat one before a workout for steady energy that doesn't sit heavy.
- Pair them with a piece of fruit to make a complete snack that actually satisfies.
- Keep a few at your desk so when the afternoon slump hits, you have something real to reach for instead of scrolling through snack delivery apps.
 Pin this
 These little bites taught me that the best snacks are the ones you make yourself, because you control what goes in and why. They're proof that eating well doesn't have to be complicated or time-consuming—sometimes it just takes 15 minutes and clean hands.
Frequently Asked Recipe Questions
- → Can I substitute the almond butter?
Yes, peanut or cashew butter can be used for a different flavor and similar texture.
- → How should I store these energy bites?
Keep them chilled in an airtight container in the refrigerator for up to one week.
- → Are these bites suitable for gluten-free diets?
Use certified gluten-free oats to ensure the bites remain gluten-free.
- → Can I make this vegan?
Swap honey with maple syrup to keep the bites vegan-friendly.
- → What adds the sweet flavor to the bites?
Honey or maple syrup provides natural sweetness without overpowering the nutty and seed flavors.
- → Is refrigeration necessary after preparation?
Yes, chilling helps the bites firm up and maintain their shape.