 Pin this
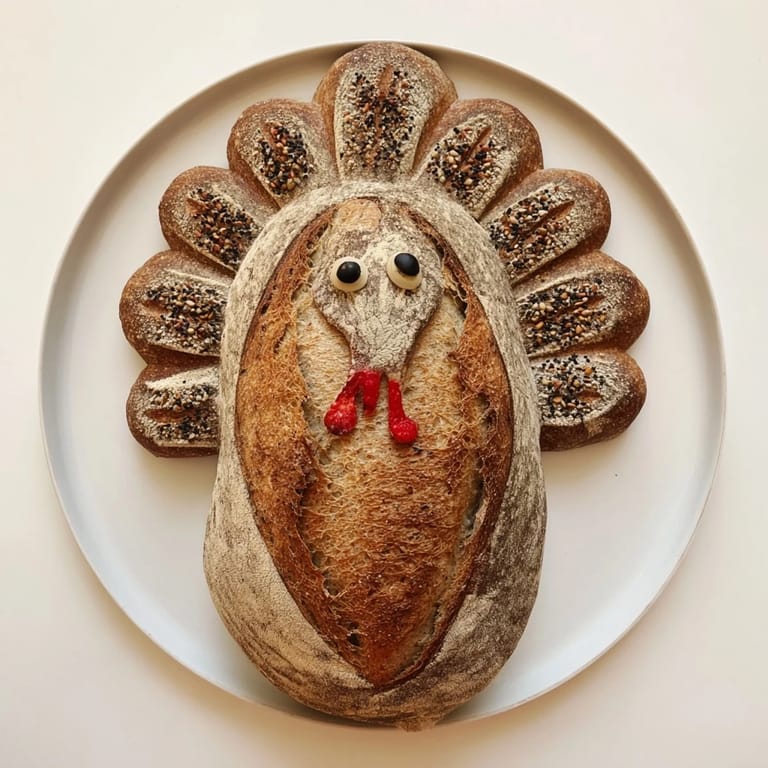
 My first attempt at shaping sourdough into something festive ended with what looked more like a blob with antennae than a turkey. The dough kept sliding, my feathers refused to stay put, and I nearly gave up halfway through. But once it came out of the oven, golden and crackling, even my skeptical partner admitted it looked almost majestic. That lopsided turkey became the star of our Thanksgiving table, and now I shape one every November without fail.
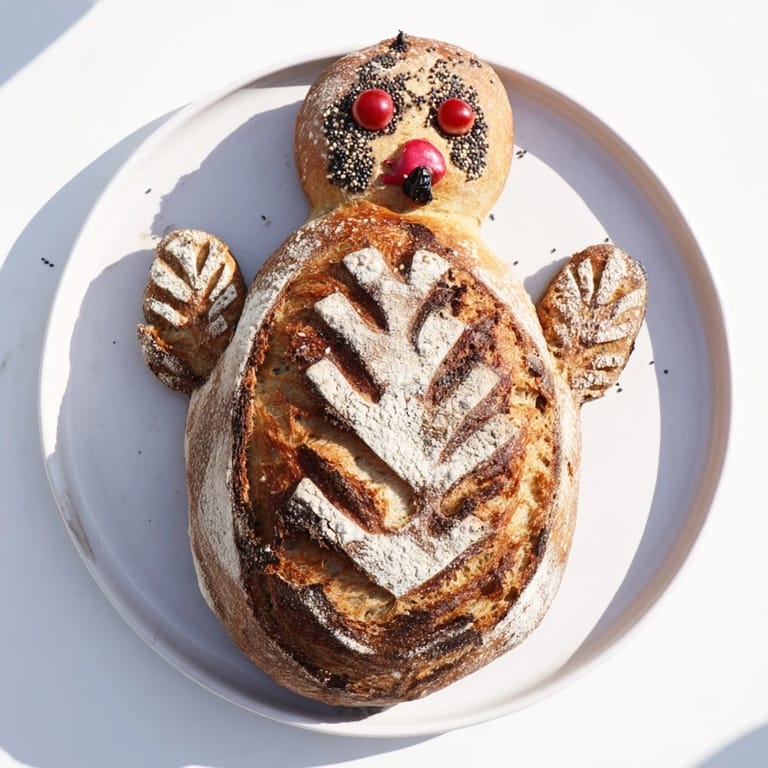
I remember the year I brought this to a potluck and watched three kids argue over who got to carry it to the table. One of them insisted it was too pretty to eat, so we took about fifteen photos before anyone cut a slice. The smell of toasted crust and sourdough tang filled the room, and by the time dessert rolled around, only crumbs remained. That loaf taught me that food can be both whimsical and deeply satisfying.
Ingredients
- Bread flour: The high protein content gives this loaf structure and chew, which is essential when youre sculpting dough into a bird.
- Water: Room temperature water keeps your fermentation steady and predictable, especially during longer bulk rises.
- Active sourdough starter: This is your leavening powerhouse, make sure its bubbly and doubled before you mix it in.
- Fine sea salt: It tightens the gluten and deepens the flavor, so dont skip it or reduce it.
- Black olives or peppercorns: These become the eyes, adding a playful touch that makes the turkey come alive.
- Red bell pepper or dough: A tiny scrap shaped into a wattle adds color and character to the face.
- Egg: An optional wash for shine and richness, but plant milk works beautifully if youre keeping it vegan.
- Seeds: Poppy, sesame, or flax scattered on the feathers create texture and visual interest.
Tired of Takeout? 🥡
Get 10 meals you can make faster than delivery arrives. Seriously.
One email. No spam. Unsubscribe anytime.
Instructions
- Mix and Rest:
- Combine flour and water in a large bowl until no dry spots remain, then cover and let it sit for 30 to 45 minutes. This autolyse phase lets the flour hydrate fully, making the dough easier to work with later.
- Add Starter and Salt:
- Fold in your bubbly starter and salt, mixing until everything is evenly distributed. The dough will feel sticky and alive.
- Stretch and Fold:
- Every 30 minutes over the next 2 hours, perform a set of stretches, pulling the dough up and folding it over itself. You should do this 3 to 4 times total to build strength.
- Bulk Ferment:
- Cover the bowl and let the dough rise at room temperature for 5 to 7 hours until it doubles in size and looks bubbly. The exact timing depends on your kitchen warmth.
- Shape the Turkey:
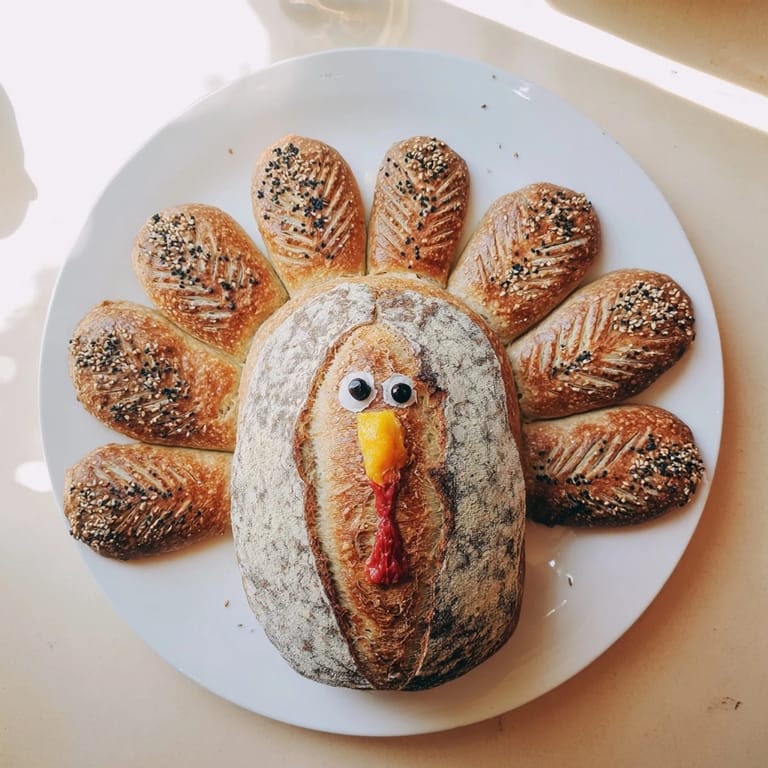
- Turn the dough onto a floured surface and divide it into pieces, a large oval for the body, a small round for the head, and several teardrops for feathers and wings. Use water to stick the head onto the body, then arrange the feathers in a fan behind it.
- Score and Decorate:
- Use a sharp knife or lame to carve feather details into each piece, then press in olive halves for eyes and attach a tiny red pepper wattle. Get playful with it.
- Proof:
- Cover the assembled turkey loosely and let it proof for 1 to 2 hours until slightly puffy. Dont rush this step or the oven spring will suffer.
- Preheat Oven:
- Set your oven to 230°C (450°F) with a baking stone or steel inside. Let it heat for at least 30 minutes so the surface is scorching hot.
- Optional Wash:
- Brush the loaf gently with beaten egg or plant milk, then scatter seeds over the feathers if you want extra crunch and color.
- Bake with Steam:
- Slide the parchment with your turkey onto the hot stone, toss a handful of ice cubes into a pan on the oven floor for steam, and bake for 20 minutes. Steam helps the crust develop that crackly texture.
- Finish Baking:
- Reduce the heat to 200°C (400°F) and bake for another 20 minutes until the loaf is deeply golden and sounds hollow when tapped. The feathers should look crisp and bronzed.
- Cool Completely:
- Transfer the turkey to a wire rack and let it cool fully before slicing. Cutting too soon will make the crumb gummy.
 Pin this
 The year my nephew insisted on helping me shape the feathers, we ended up with a turkey that looked more punk rock than pastoral. He gave it a mohawk of seeds and uneven wings, and we laughed so hard we had to take a break. When it came out of the oven, though, that scrappy little bird was the most loved loaf Ive ever baked. Sometimes the imperfect ones carry the best memories.
How to Tell When Its Done
Tap the bottom of the loaf with your knuckles, it should sound hollow and feel firm, not soft or doughy. If you have an instant read thermometer, the internal temperature should hit around 95 to 98°C (203 to 208°F). The crust will be a rich amber color, and the feathers will look crisp and separate, almost like they could flutter away.
Serving and Storage
This turkey looks stunning as a centerpiece, so let guests admire it before you slice into the breast. Serve it warm with softened butter, herbed olive oil, or alongside roasted vegetables and gravy. Store any leftovers in a paper bag at room temperature for up to two days, or slice and freeze for up to a month. Toast frozen slices straight from the freezer for a quick breakfast.
Variations and Add Ins
Fold chopped fresh rosemary or thyme into the dough during the final stretch and fold for an herby twist. You can also swap some of the bread flour for whole wheat or spelt to add nuttiness and texture. If youre feeling bold, brush the feathers with different washes, turmeric milk for yellow tips, beet juice for pink, to create a rainbow turkey.
- Mix in a handful of toasted walnuts or pecans for crunch.
- Brush with garlic butter right after baking for a savory finish.
- Shape smaller rolls instead of one large turkey for individual servings.
 Pin this
 Every time I pull this loaf from the oven, I feel like a kid again, proud and a little surprised it actually worked. Whether yours turns out picture perfect or charmingly wonky, it will make people smile, and thats the whole point.
Frequently Asked Recipe Questions
- → Can I make this without a sourdough starter?
While this is designed for sourdough, you can substitute with 2 teaspoons instant yeast and reduce fermentation time to 2-3 hours total, though you'll lose the characteristic tangy flavor.
- → How do I keep the turkey shape intact during baking?
Use water to attach pieces securely, avoid over-proofing which causes spreading, and ensure your oven is fully preheated. The feathers and wings should be scored and attached firmly to the body.
- → What if my dough is too sticky to shape?
Dust your work surface and hands lightly with flour. Sourdough should be slightly tacky but manageable. If overly wet, you can perform additional folds during bulk fermentation to build strength.
- → How far in advance can I prepare this?
You can start the dough the night before and shape it in the morning for evening baking. Alternatively, shape and refrigerate overnight for a slow cold proof, then bake directly from the fridge.
- → Can I freeze this bread?
Yes, cool completely then wrap tightly in plastic wrap and foil. Freeze up to 3 months. Thaw at room temperature and refresh in a 180°C oven for 10 minutes to restore the crust.
- → What creates the steam for baking?
Place a metal pan on the oven floor and add boiling water when you load the bread, or use a Dutch oven. Steam helps create a crispy, golden crust and better oven spring.